Introduction
A door lock that’s stiff, worn, or just plain unreliable isn’t something to live with. Whether you’ve moved into a new home, lost a key, or simply want a more secure lock, changing a door lock is easier than most people expect, a job you can usually finish in under an hour with the right tools and a bit of patience. This door lock replacement guide walks through exactly how door locks can be changed or replaced, from recognizing when it’s time for a new one to installing it correctly, without skipping the details that actually matter.
Summary
Here’s how door locks can be changed or replaced, in short:
- Replace a door lock if the key won’t turn smoothly, the lock is visibly worn or damaged, you’ve lost a key, or you’ve just moved into a home with an unknown lock history.
- Most standard door locks can be replaced with basic tools: a screwdriver, a tape measure, and sometimes a chisel if the door needs re-prepping.
- Measure your door’s backset and existing hole sizes before buying a replacement, mismatched dimensions are the most common installation mistake.
- Rim locks and mortise locks install differently, know which type you’re replacing before you start.
- Test the lock fully, with the door both open and closed, before considering the job finished.
- If your door needs new holes cut, or the frame is damaged, it’s worth calling a professional rather than improvising.
Signs You Need to Replace a Door Lock
Why it matters: Knowing when to replace a lock, rather than just living with a minor annoyance, prevents a small inconvenience from becoming a security risk or a locked-out afternoon.
- The key won’t turn smoothly, sticking, binding, or requiring extra force. This often points to worn internal pins or a misaligned strike plate, and it tends to get worse, not better, over time.
- You’ve lost a key or had one stolen. Replacing the lock is the only way to be certain an old key can’t be used against you.
- You’ve just moved into a new home or rental. You have no way of knowing how many keys exist for the current lock, replacing it is the only way to control access from day one.
- Visible wear or damage, a loose handle, a cracked lock body, or a strike plate that’s pulling away from the frame.
- You’re upgrading security, moving from a basic lock to a higher-security option, or adding a deadbolt alongside an existing lock.
Tools You’ll Need
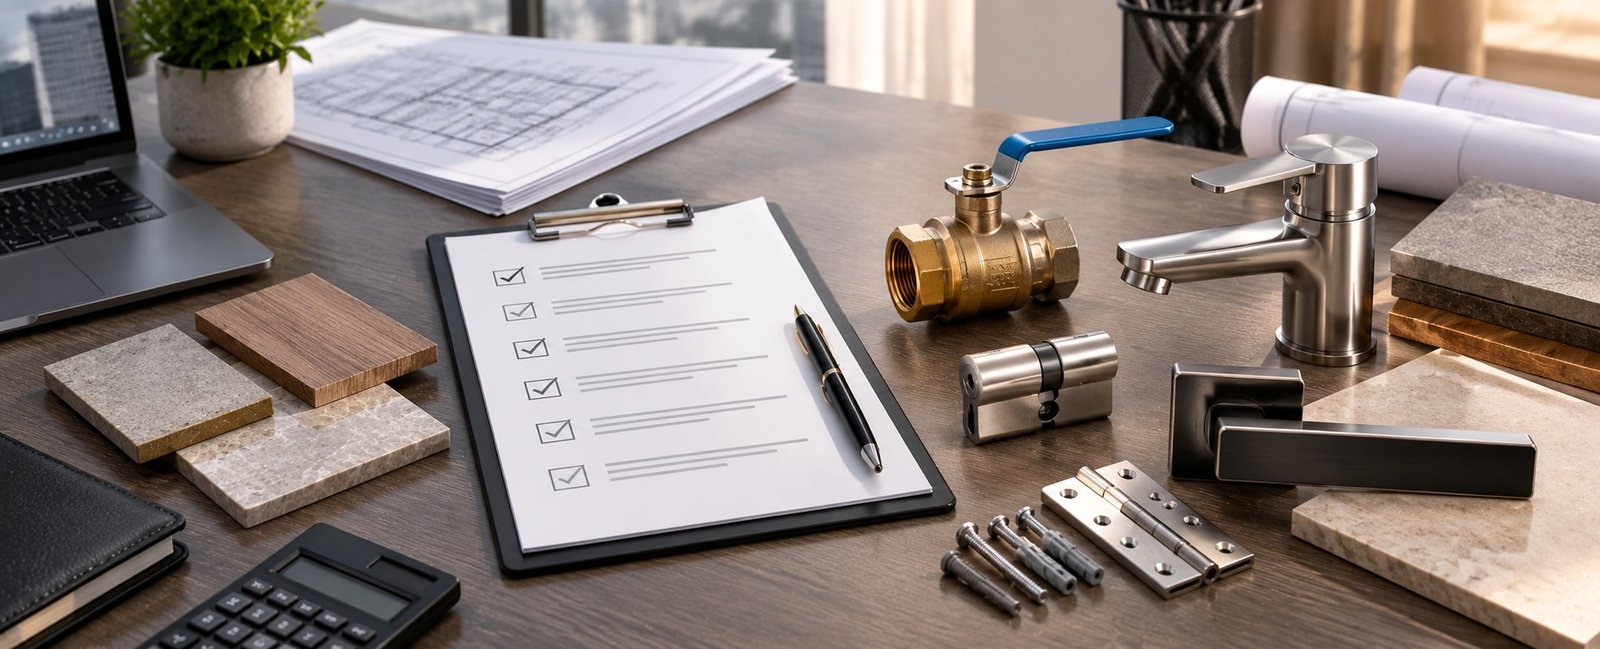
- A screwdriver (flathead and Phillips, since screw types vary between lock brands)
- A tape measure
- A pencil for marking
- A chisel and hammer (only needed if the door requires new or adjusted mortising)
- A drill, if you’re installing a lock that needs a new hole or a different bore size
- The new lock itself, along with any strike plate or mounting hardware it comes with
Step 1: Remove the Old Lock
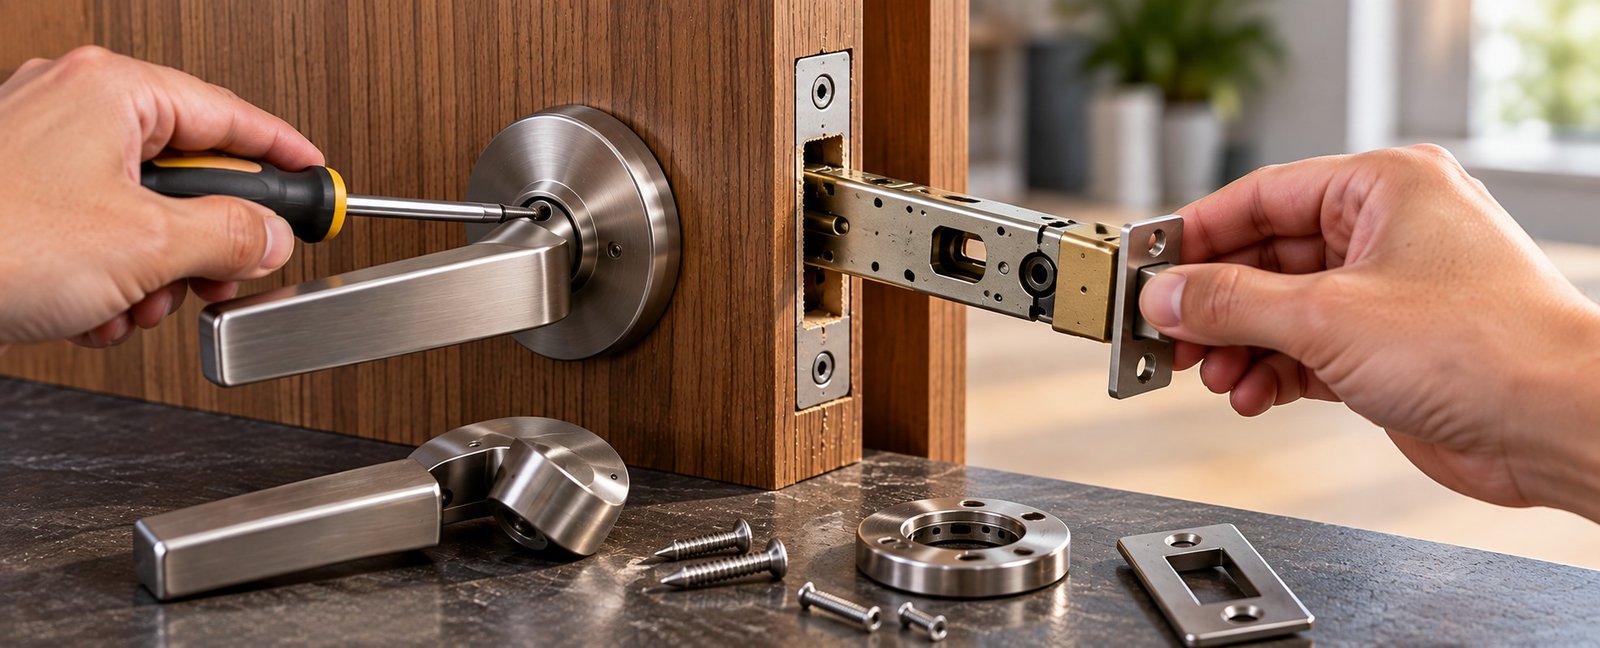
Start by removing the door handle or knob, usually secured by a small screw on the interior side, sometimes hidden under a decorative cap you’ll need to pop off first. With the handle removed, unscrew the mounting plate and slide out the latch or lock mechanism from the edge of the door. Keep the old screws and hardware nearby, you may need them for reference even if you’re not reusing them.
Common mistake: Forcing a stuck lock body out without first confirming every screw has actually been removed. Check both the door face and the door edge before applying force.
Step 2: Identify Your Lock Type and Measurements
Why it matters: Buying a replacement without confirming these measurements is the single most common reason a new lock doesn’t fit.
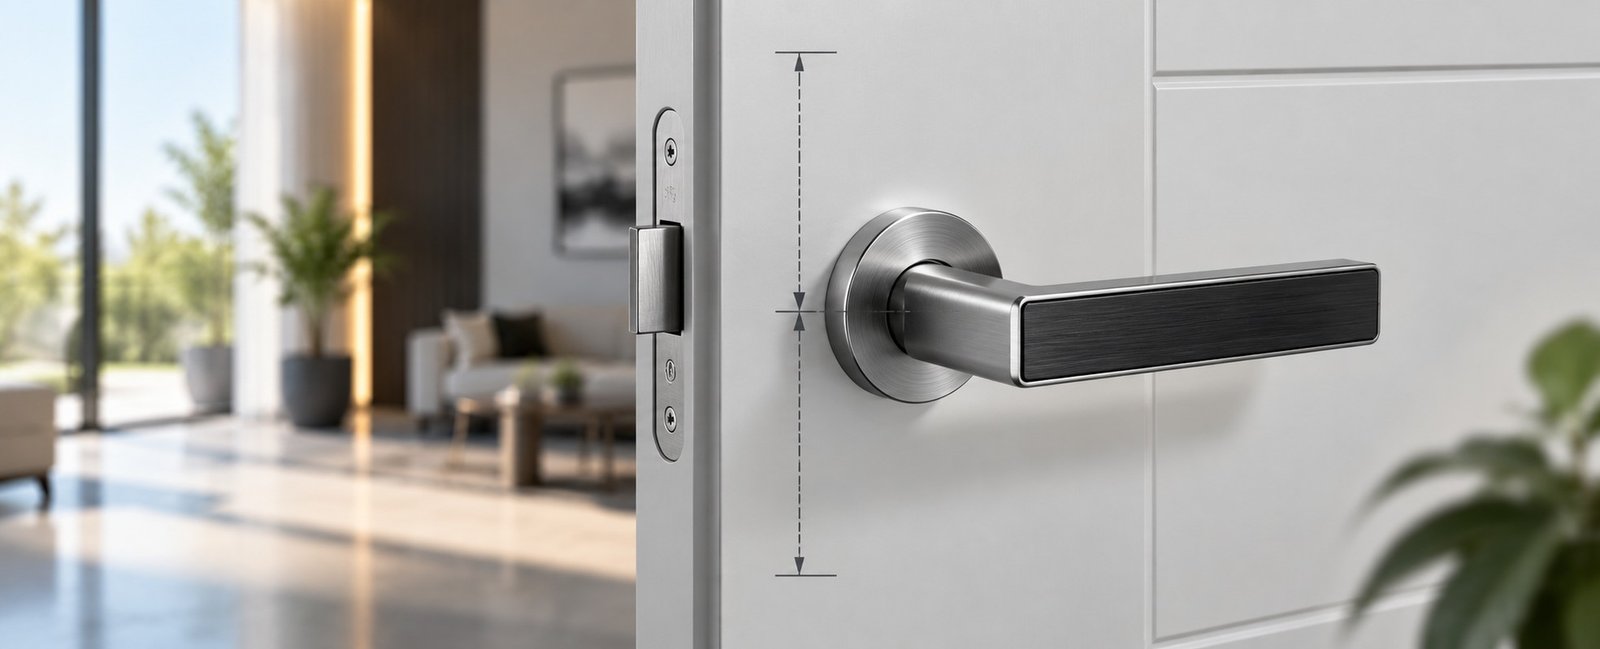
- Backset: the distance from the edge of the door to the center of the handle or lock hole, typically 60mm or 70mm on standard doors. Measure this before shopping for a replacement.
- Door thickness: most residential doors are a standard thickness, but it’s worth confirming, especially on older or custom doors.
- Cross bore and edge bore diameter: the size of the existing holes in the door face and edge. A replacement lock needs to match these, or you’ll need to adjust the door itself.
- Lock type: rim lock, mortise lock, or cylindrical lockset, each installs differently, covered in more detail further down.
Step 3: Choose the Right Replacement Lock
Why it matters: Not every lock is interchangeable, and choosing based on measurements and application matters more than choosing based on appearance alone.
Match the new lock’s backset, bore sizes, and mounting style to what you measured in Step 2. If you’re upgrading security level or switching lock types entirely, for example moving from a basic latch to a proper deadbolt, or from an older rim lock to a modern cylindrical lockset, be prepared for some door prep work, covered in the next step. Our guide on types of door locks explained is worth reading before you buy if you’re not sure which lock type actually suits your door and security needs.
Step 4: Prepare the Door, If Needed
If your replacement lock matches the existing hole sizes and backset exactly, you can likely skip straight to installation. If it doesn’t, you’ll need to adjust the door:
- Enlarging an existing hole with a drill and the correct hole saw size for the new lock.
- Chiseling a new mortise pocket if you’re installing a mortise lock where a cylindrical lock previously sat, or vice versa.
- Filling and patching old holes if the new lock’s mounting pattern doesn’t align with the old one at all.
Best practice: Measure twice before cutting or drilling anything. A mistake here means either an oversized hole that won’t hold the new lock securely, or a door that needs a more involved repair.
Step 5: Install the New Lock
- Insert the latch or lock body into the edge of the door, securing it with the screws provided.
- Align the strike plate on the door frame with the latch, mark its position, and mortise the frame slightly if needed so the plate sits flush.
- Screw the strike plate into place.
- Install the exterior and interior handle or knob assembly, threading any connecting screws through the door and tightening evenly on both sides.
- Insert and test the key or thumb-turn mechanism before considering the handle installation complete.
Common mistake: Overtightening the mounting screws, which can warp the lock’s internal mechanism and cause the same stiffness problem you were trying to fix in the first place.
Step 6: Test the Lock Thoroughly
Before calling the job done, test the lock with the door open, then with the door closed, from both sides. Confirm the latch or bolt extends and retracts smoothly, the key turns without excessive force, and the strike plate aligns correctly so the door closes without needing to be slammed or lifted into place.
Rim Lock vs Mortise Lock Replacement
Why it matters: These two lock types install fundamentally differently, and confusing them mid-project causes real problems.
A rim lock mounts on the surface of the door, on the interior face, rather than being recessed into the door’s edge. Replacing one is usually simpler, since it doesn’t require deep mortising into the door itself, just aligning and mounting the new lock body against the door surface. Kanzotech’s rim lock range covers standard replacement options for this lock type.
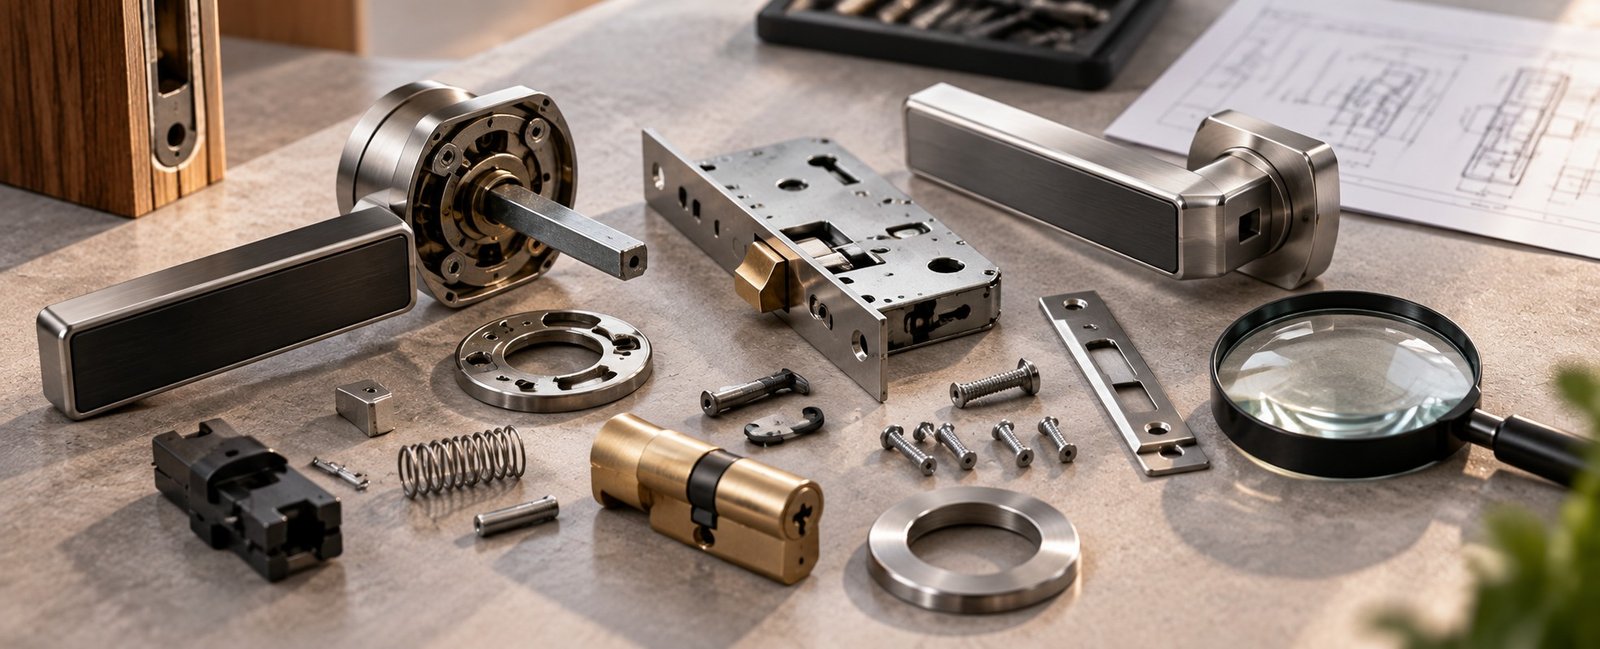
A mortise lock sits inside a pocket cut into the door’s edge, offering a more robust, traditionally higher-security option, but requiring more precise door prep if you’re installing one where a different lock type previously sat. If you’re replacing a mortise lock with another mortise lock of the same dimensions, installation is usually straightforward. Switching lock types, however, often means additional carpentry work.
Common Mistakes When Replacing a Door Lock
- Not measuring the backset before buying a replacement, leading to a lock that doesn’t fit the existing holes.
- Overtightening mounting screws, which can bind the internal mechanism and cause the exact problem you’re trying to solve.
- Ignoring strike plate alignment, resulting in a door that doesn’t latch cleanly even though the lock itself works fine.
- Choosing a lock based on price alone, without checking build quality, our guide on why door hardware fails early covers how cheap internal components lead to early failure, whether you’re managing one door or hundreds.
- Skipping the test step, only to discover an alignment issue once the door is closed and the tools are already put away.
DIY vs. Calling a Professional
When DIY makes sense: If your replacement lock matches your existing door prep, same backset, same bore sizes, and you’re comfortable with basic tools, this is a genuinely manageable weekend project.
When to call a professional: If you’re changing lock types entirely and need new mortising or hole enlargement, if your door or frame shows signs of damage or warping, or if you’re installing a lock on a fire-rated or commercial door where specific hardware compliance applies. A locksmith or contractor can also help if you’re unsure which lock type best suits your security needs before you buy anything.
How Much Does It Cost to Replace a Door Lock?
Cost depends primarily on the lock itself, budget options are inexpensive, while higher-security or premium-finish locks cost more, and whether the job requires additional door prep. A straightforward swap with matching measurements is the lowest-cost scenario. A lock type change requiring new mortising or professional installation adds labor cost on top of the hardware itself.
Frequently Asked Questions
- How long does it take to replace a door lock?
A straightforward swap with matching measurements typically takes 30 minutes to an hour. A lock type change requiring door prep can take considerably longer.
- Do I need to replace the strike plate too?
Not always, if your new lock’s latch or bolt dimensions match the existing strike plate opening, you can often reuse it. If dimensions differ, you’ll need a new one, usually included with the replacement lock.
- What’s the difference between a latch and a deadbolt?
A latch is spring-loaded and engages automatically when the door closes, offering convenience but limited security on its own. A deadbolt requires a key or thumb-turn to engage and offers significantly stronger resistance to forced entry, which is why many doors use both together.
- Can I replace just the lock cylinder instead of the whole lock?
In some cases, yes, particularly with mortise locks and certain rim locks, where the cylinder can be swapped independently. This is often cheaper than replacing the entire lock body if the rest of the mechanism is still in good condition.
- What size backset do I need for a replacement lock?
Most residential doors use a 60mm or 70mm backset. Measure your existing lock’s backset before buying a replacement to avoid a mismatch.
- Is it worth replacing a lock myself, or should I hire a locksmith?
If your replacement matches your existing door prep, DIY is usually straightforward. If you’re changing lock types or dealing with a damaged door or frame, a locksmith or contractor is worth the cost to avoid a poor installation.
- How do I know if my door needs a rim lock or a mortise lock replacement?
Look at how your current lock is mounted. If the lock body sits on the surface of the door, it’s a rim lock. If it’s recessed into a pocket cut into the door’s edge, it’s a mortise lock. Match your replacement to the same type unless you’re deliberately switching, which usually requires extra door prep.
- How can door locks be changed without replacing the whole door?
In almost every case, a lock is replaced independently of the door itself. Door locks are designed to be swapped out with the door still hung on its hinges, whether you’re changing a rim lock, a mortise lock, or a full cylindrical lockset, so replacing the door is never necessary just to change the lock.
Conclusion
Whether you call it replacing a lock or changing a lock, the process is the same, and it’s a manageable project for most homeowners, provided you take the time to measure correctly, identify your lock type, and test the installation properly before calling it done. This door lock replacement guide covers the mistakes that trip people up most often, wrong backset, overtightened screws, misaligned strike plates, and all of them come down to skipping a step that takes just a few extra minutes. Whether you’re swapping a worn lock for an identical replacement or upgrading to a more secure option entirely, getting the measurements and lock type right from the start makes the rest of the job straightforward.
Your next steps:
- Measure your existing lock’s backset, bore sizes, and mounting style before buying a replacement.
- Confirm whether you’re working with a rim lock or a mortise lock, and choose your replacement accordingly.
- Browse Kanzotech’s rim lock range and complete door lock sets for reliable replacement options.
Not sure which lock fits your door, or need help sourcing hardware for a bigger project? Contact Kanzotech Accessories for guidance and bulk pricing.



 September 30, 2026
 HYZAM KENZ




Comments
No comments yet. Be the first to comment!